Coming soon with new templates!100% OFF

Adding Snow Effect to Flatsome Theme

adding snow effect to flatsome theme

Decorating your website with seasonal embellishments is an excellent method to captivate users’ attention. Especially on special occasions like the holiday season, adding small touches to your site can enhance the visitor experience. Today, I will guide you step-by-step on how to add an impressive snow effect to your Flatsome website using a plugin called Code Snippets.

Step 1: Install the Necessary Plugin

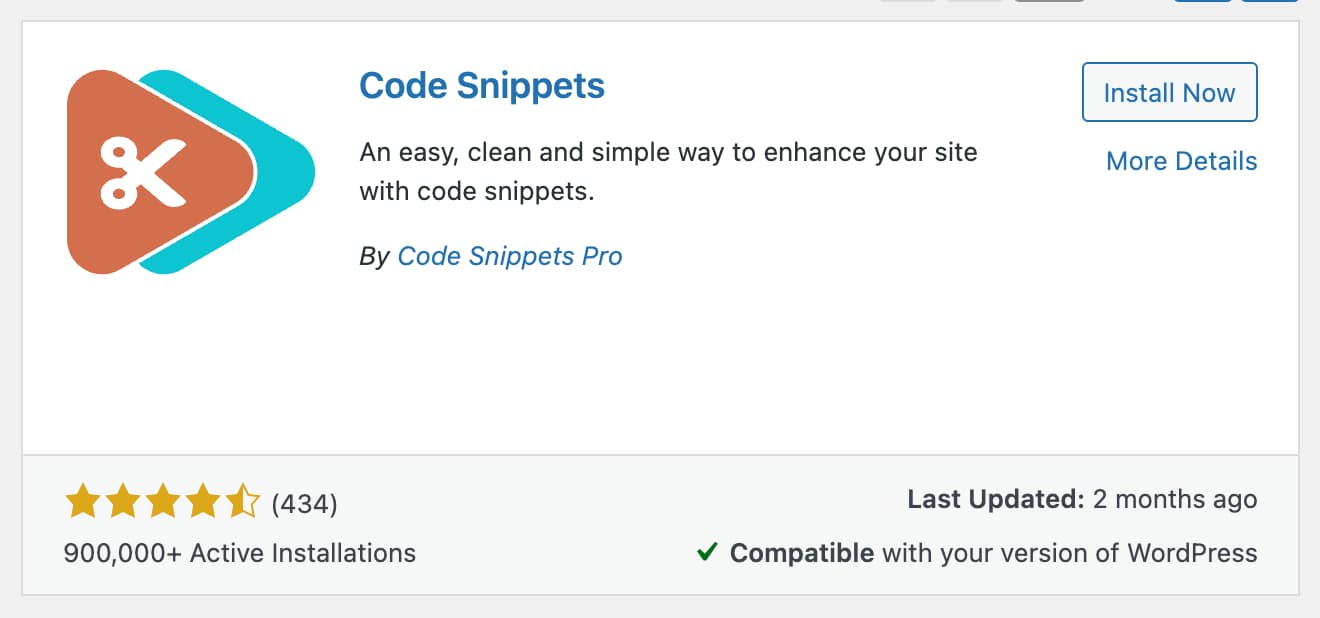
The first thing you need to do to add a snow effect is to install a plugin called Code Snippets. This plugin allows you to add pieces of code, such as HTML, CSS, and Javascript, to your website. It also offers a toggle feature that lets you manage these codes and activate or deactivate them whenever you want. This feature helps you quickly enable certain codes to enhance your customer’s experience.

Step 2: Add the Snow Effect Code

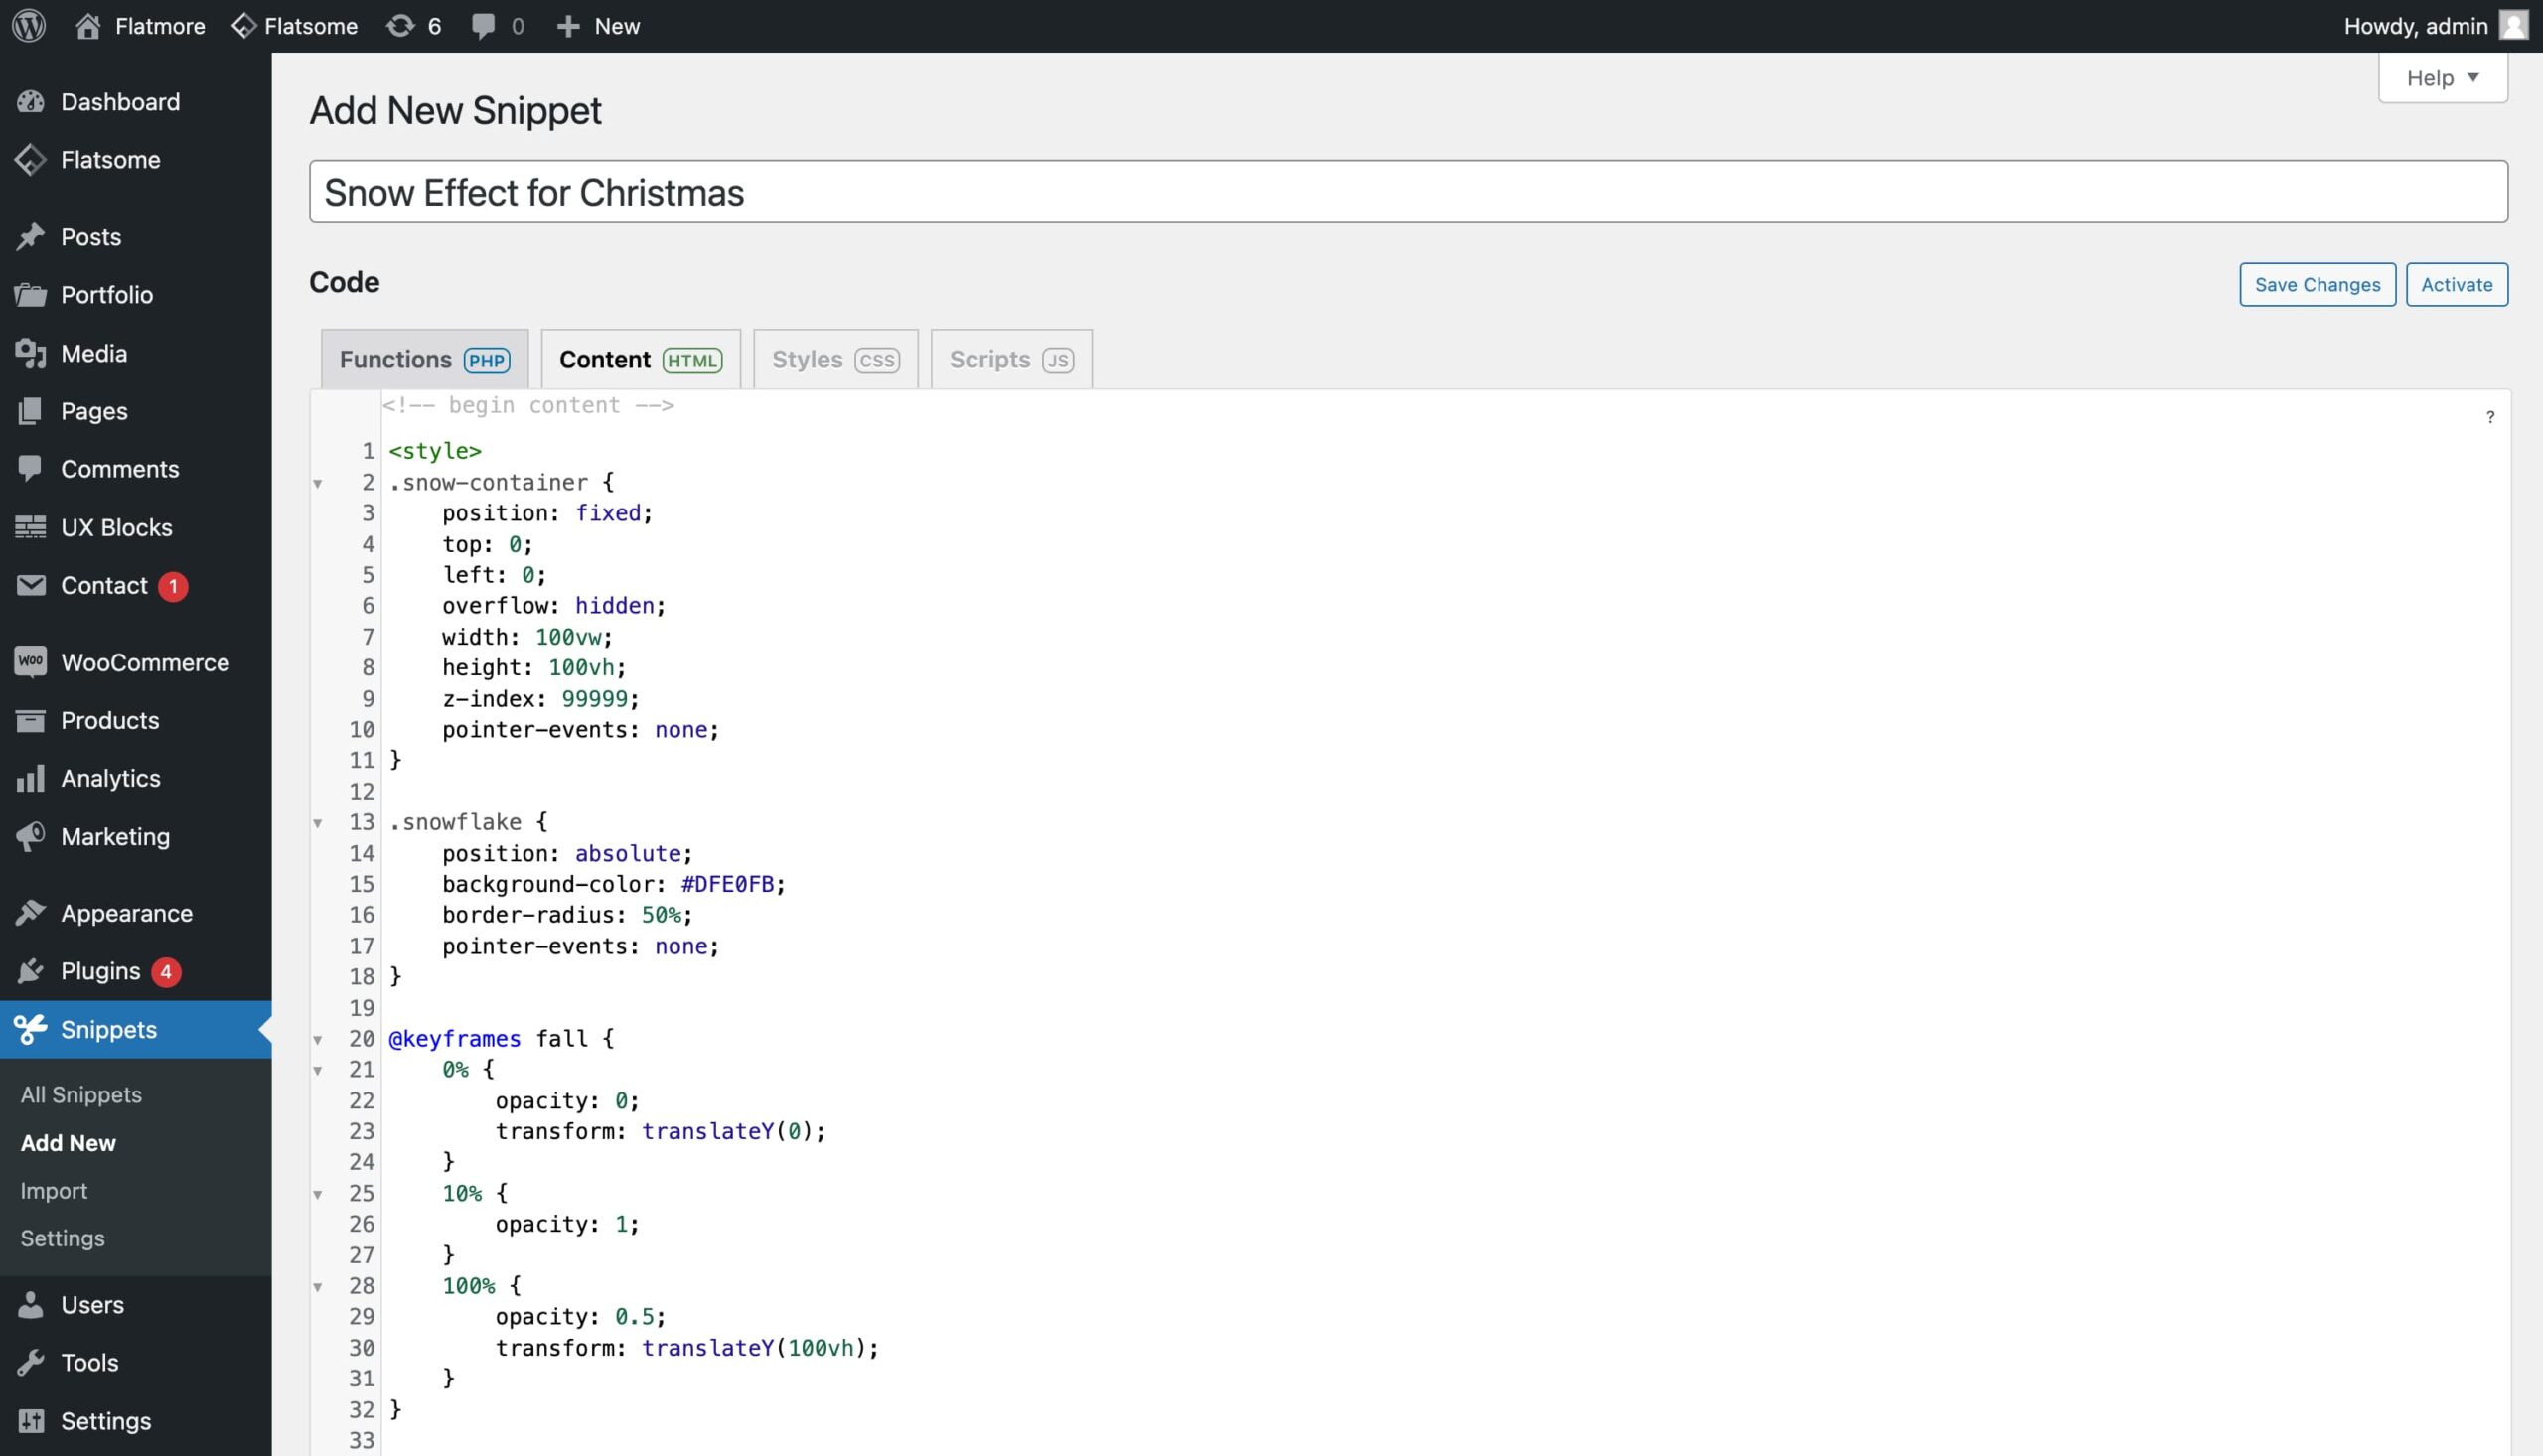
After installing the plugin, copy the HTML code provided below and create a new snippet in Code Snippets. When creating this snippet, remember to paste your code in the HTML section.

This freely available code is locked down.

Log in or create an account to access our magic code.

Sign Up / Login
<style>
.snow-container {
    position: fixed;
    top: 0;
    left: 0;
    overflow: hidden;
    width: 100vw;
    height: 100vh;
    z-index: 99999;
    pointer-events: none;
}

.snowflake {
    position: absolute;
    background-color: #DFE0FB;
    border-radius: 50%;
    pointer-events: none;
}

@keyframes fall {
    0% {
        opacity: 0;
        transform: translateY(0);
    }
    10% {
        opacity: 1;
    }
    100% {
        opacity: 0.5;
        transform: translateY(100vh);
    }
}

@keyframes diagonal-fall {
    0% {
        opacity: 0;
        transform: translate(0, 0);
    }
    10% {
        opacity: 1;
    }
    100% {
        opacity: 0.25;
        transform: translate(20vw, 100vh);
    }
}
</style>


<div class="snow-container"></div>

<script>
document.addEventListener("DOMContentLoaded", function () {
    const snowContainer = document.querySelector(".snow-container");

    const particlesPerThousandPixels = 0.1;
    const fallSpeed = 1.25;
    const pauseWhenNotActive = true;
    const maxSnowflakes = 200;
    const snowflakes = [];

    let snowflakeInterval;
    let isTabActive = true;

    function resetSnowflake(snowflake) {
        const size = Math.random() * 5 + 1;
        const viewportWidth = window.innerWidth - size; // Adjust for snowflake size
        const viewportHeight = window.innerHeight;

        snowflake.style.width = `${size}px`;
        snowflake.style.height = `${size}px`;
        snowflake.style.left = `${Math.random() * viewportWidth}px`; // Constrain within viewport width
        snowflake.style.top = `-${size}px`;

        const animationDuration = (Math.random() * 3 + 2) / fallSpeed;
        snowflake.style.animationDuration = `${animationDuration}s`;
        snowflake.style.animationTimingFunction = "linear";
        snowflake.style.animationName =
            Math.random() < 0.5 ? "fall" : "diagonal-fall";

        setTimeout(() => {
            if (parseInt(snowflake.style.top, 10) < viewportHeight) {
                resetSnowflake(snowflake);
            } else {
                snowflake.remove(); // Remove when it goes off the bottom edge
            }
        }, animationDuration * 1000);
    }

    function createSnowflake() {
        if (snowflakes.length < maxSnowflakes) {
            const snowflake = document.createElement("div");
            snowflake.classList.add("snowflake");
            snowflakes.push(snowflake);
            snowContainer.appendChild(snowflake);
            resetSnowflake(snowflake);
        }
    }

    function generateSnowflakes() {
        const numberOfParticles =
            Math.ceil((window.innerWidth * window.innerHeight) / 1000) *
            particlesPerThousandPixels;
        const interval = 5000 / numberOfParticles;

        clearInterval(snowflakeInterval);
        snowflakeInterval = setInterval(() => {
            if (isTabActive && snowflakes.length < maxSnowflakes) {
                requestAnimationFrame(createSnowflake);
            }
        }, interval);
    }

    function handleVisibilityChange() {
        if (!pauseWhenNotActive) return;

        isTabActive = !document.hidden;
        if (isTabActive) {
            generateSnowflakes();
        } else {
            clearInterval(snowflakeInterval);
        }
    }

    generateSnowflakes();

    window.addEventListener("resize", () => {
        clearInterval(snowflakeInterval);
        setTimeout(generateSnowflakes, 1000);
    });

    document.addEventListener("visibilitychange", handleVisibilityChange);
});
</script>

Step 3: Position Your Code

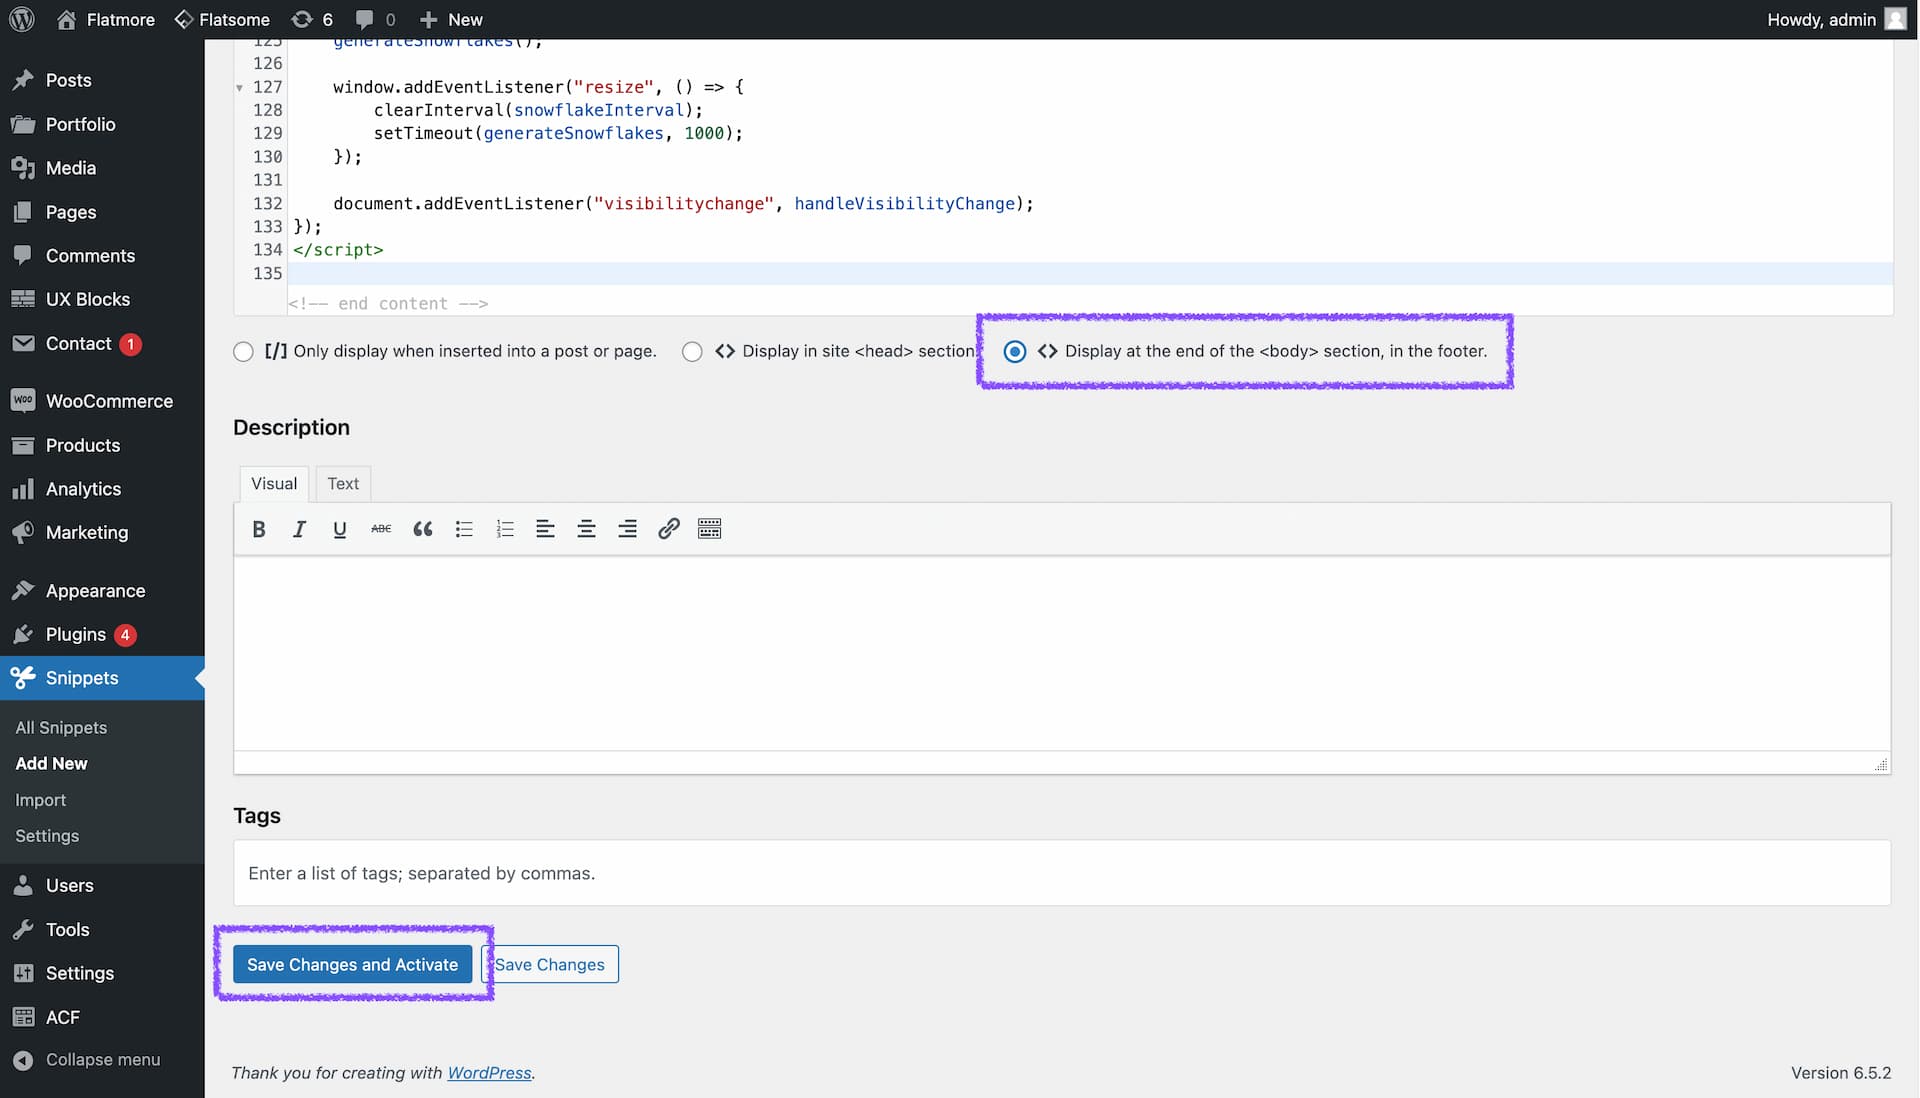
Go to the settings of the snippet you created and select where the code will run. In this case, check the option “Display at the end of the <body> section, in the footer.”

After completing all settings, activate the snippet you created. This way, visitors will immediately see the snow effect when they enter your site.

Result:

BONUS: Customizing the Speed and Size of Snowfall

If you want to further personalize the snow effect added to your website, you can offer your visitors a unique experience by adjusting the speed and size of the snowflakes. These customizations can make it more harmonious with your site’s visual theme and leave a more impactful impression on visitors.

Controlling the Size of the Snowflakes

The size of each snowflake is set in the resetSnowflake function. You can control the size by modifying the range of the Math.random() function. The size is currently determined by Math.random() * 5 + 1, which means the size can vary between 1px and 6px. Adjusting these values will change the minimum and maximum size of the snowflakes.

const size = Math.random() * 5 + 1;  // Change 5 to increase/decrease the range

Controlling the Snowfall Speed

The snowfall speed in your code is influenced by the fallSpeed variable. This variable acts as a divisor to the randomly generated duration for which a snowflake falls. Increasing the value of fallSpeed will decrease the animationDuration, making the snowflakes fall faster. Conversely, decreasing fallSpeed will make them fall slower.

const fallSpeed = 1.25;  // Increase to make snowflakes fall faster

With these simple steps, you can add a festive touch to your Flatsome-themed website for the holiday season. Remember, such seasonal changes enrich the user experience and can increase visitors’ interest in your site. Happy New Year and wish you snowy days!

Leave a Reply

Your email address will not be published. Required fields are marked *

Made in Flatsome